Assigning an Audit
This section covers:
- Creating an Audit Assignment
- Assign an Audit
- Schedule an Audit
- Delegate an Audit
- Assigning Corrective Action
- Replying to Corrective Action
- Submitting Audit
Creating an Audit Assignment
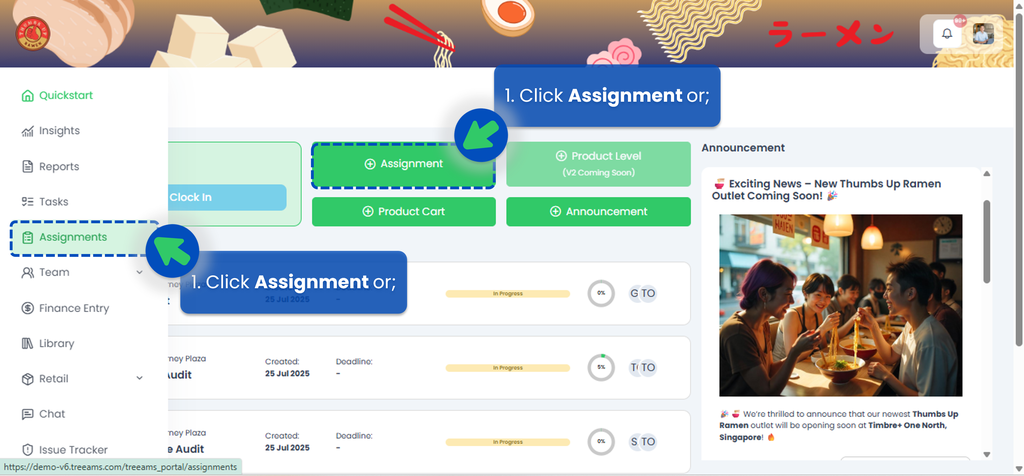
- From the Portal, click Assignments. You can find Assignments from the left panel menu or from the Quickstart page.
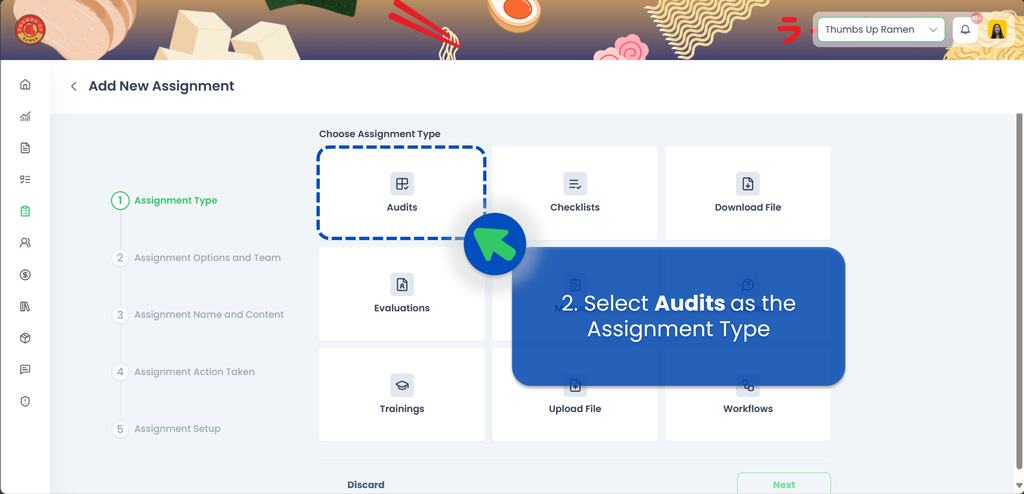
- Select "Audit" as the Assignment Category, then click Next.
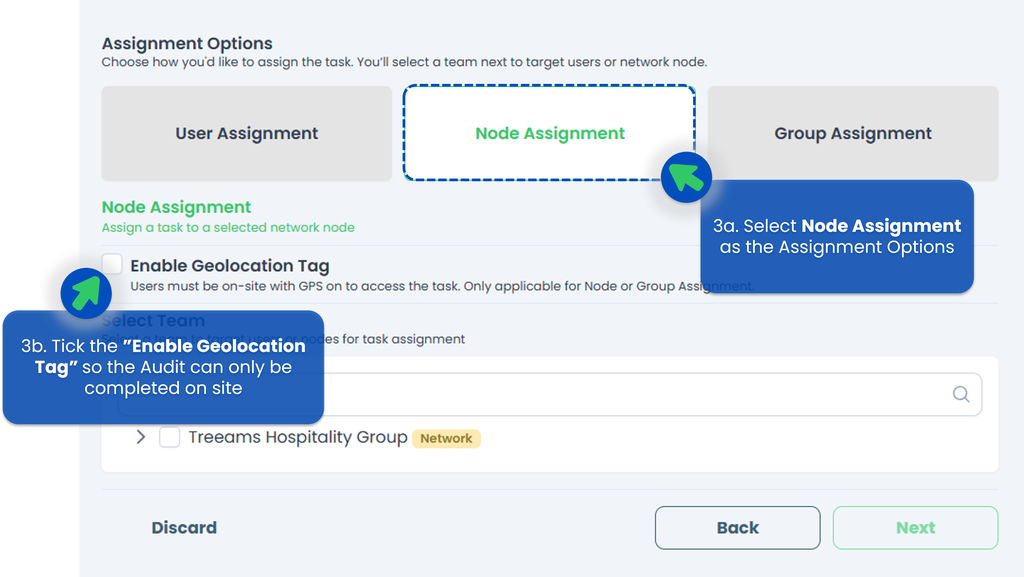
- Select the Assignment Type. Since this is an Audit, you can only use Node (location-based) assignments. You can also require auditors to share their location using the Enable Geolocation Tag function, which means audits must be done on-site. The system will verify the user’s physical presence through geolocation.
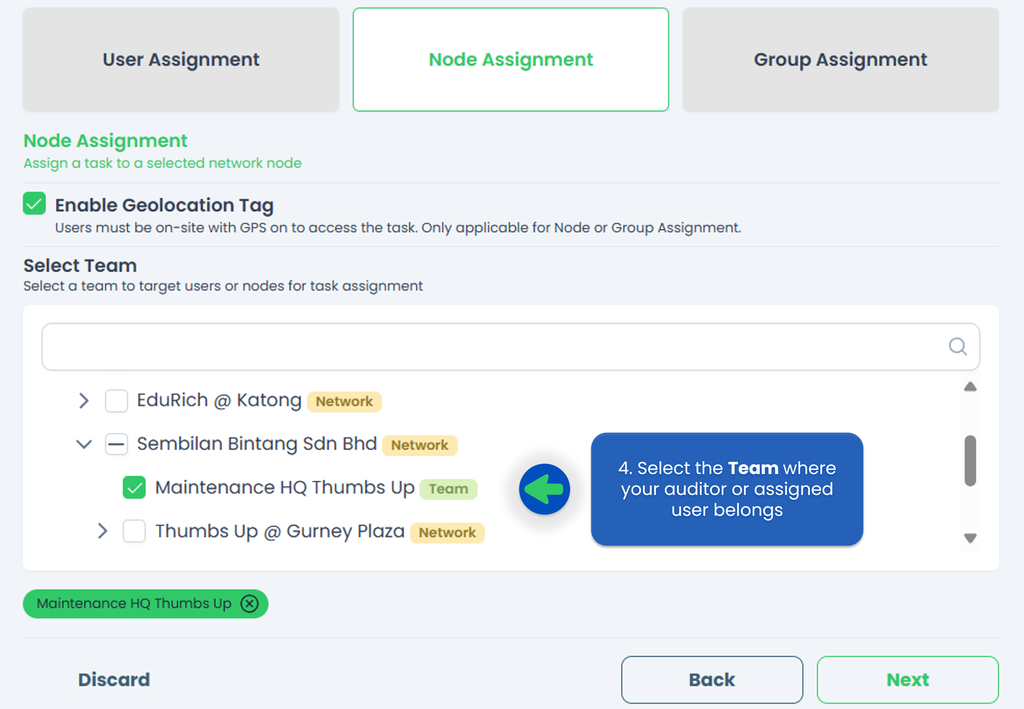
- Select the Team your auditor (or the person responsible for the audit) belongs to, then click Next. This step links to the final stage, where you’ll assign the audit to the right person. You can choose multiple outlets, but only one person per outlet can be assigned to complete the audit.
- a. Select the Audit you'd like to assign. If you haven't created any Audits, refer to How to create an Audit to start creating or adding your Audits!
b. This is optional, but you can rename your Audit Task Title!
c. You can also click Preview button to ensure you've selected the correct Audits, then click Next.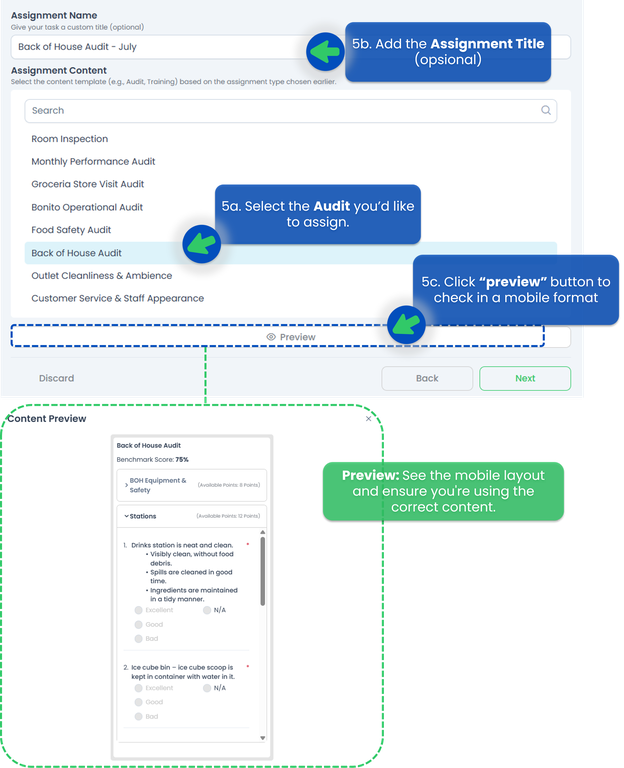
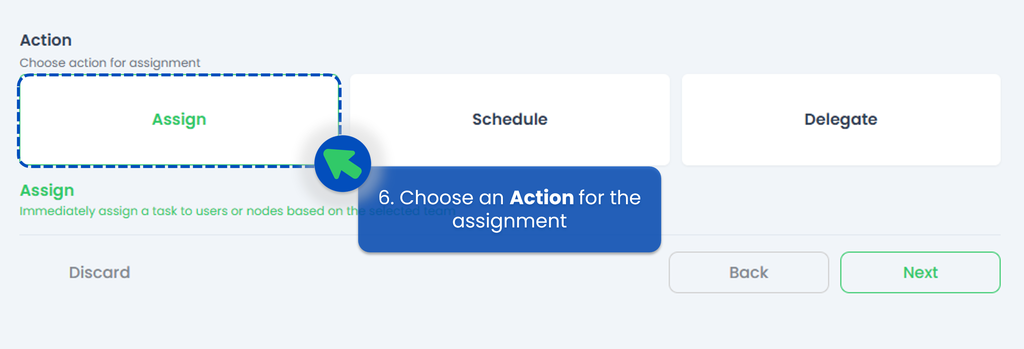
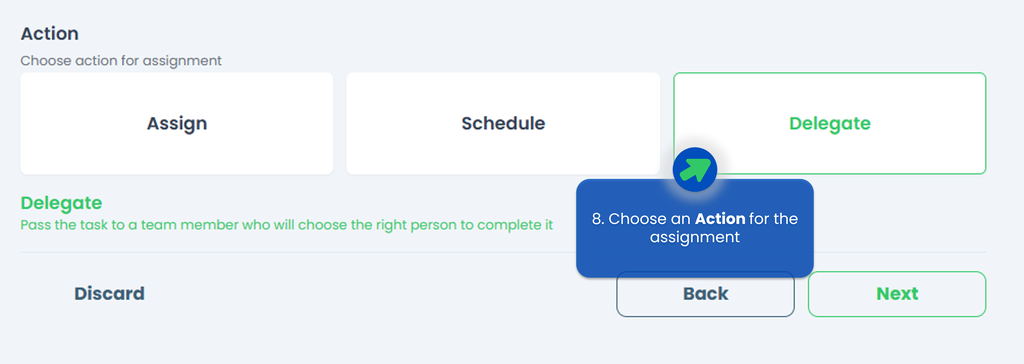
- Select an Action for how and when the Audits will be assigned to the selected team or users, then click Next.
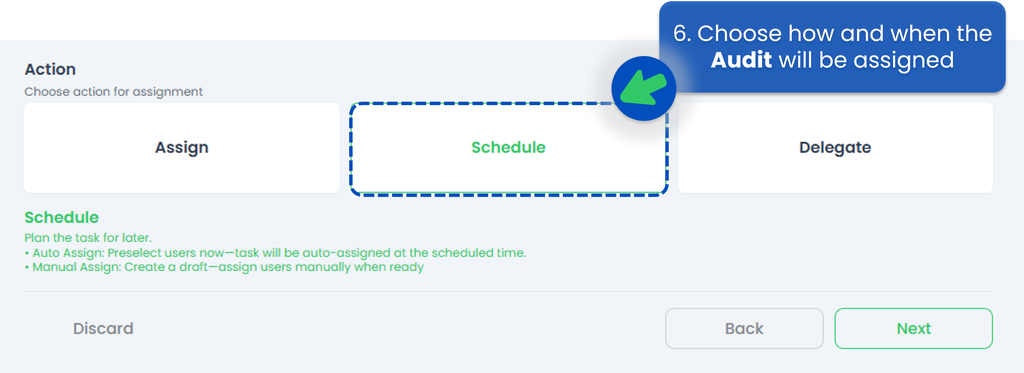
Please continue to the next step, which is either Assign, Schedule, or Delegate.
- Assign Action 👉 You can directly send the Audit at that time to the auditor or the person responsible for it. If you're unsure who the appropriate person in charge is but know someone who can identify them, consider using the Delegate feature.
- Schedule Action 👉 create a schedule to assign in a regular frequency within a specific timeframe.
- Delegate Action 👉 instead of directly assigning the Audits, you have the option to delegate it. This feature is especially helpful when you're unsure who is responsible for conducting the Audits but know someone who can appoint the appropriate person.
Assign an Audit
- In step 6, if you choose to Assign, you will be able to send the Audit at that time directly to the auditor or the person responsible for it.
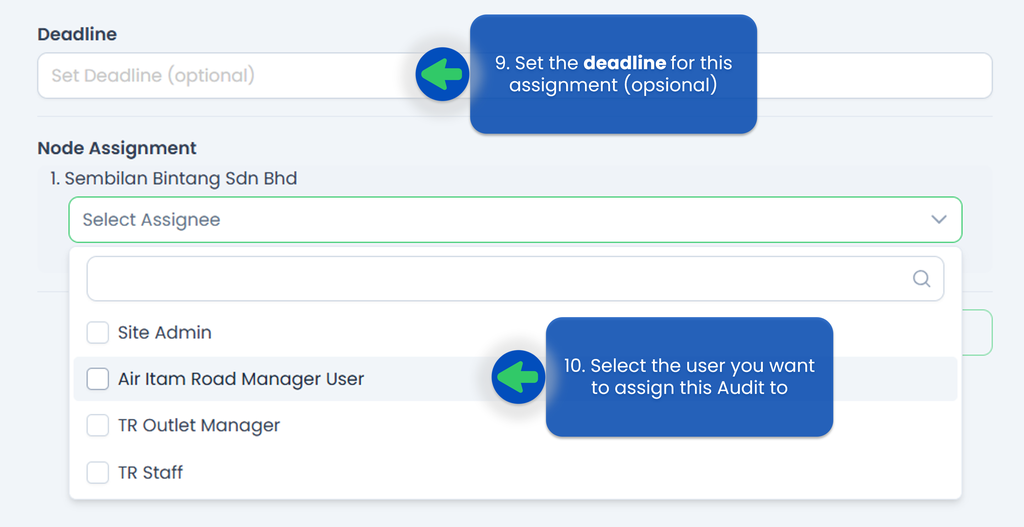
- Set a deadline for this assignment if you’d like!
- Select the person responsible to do the Audit. Do note that each outlet can only have one Assignee (auditor).
- Click Submit.
- Your audit has been successfully assigned!
Schedule an Audit
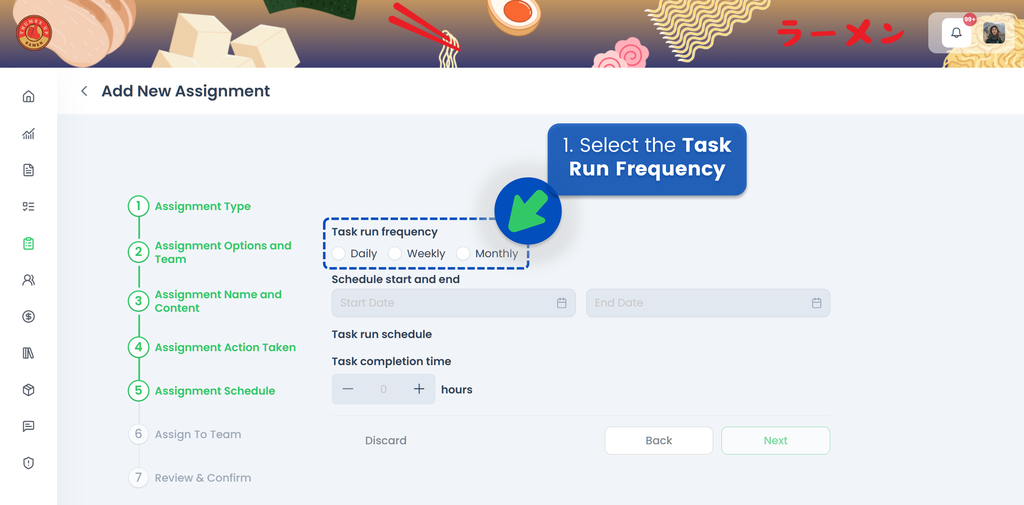
If you choose to Schedule your audit, the next step is to select the Task Run Frequency, whether it's Daily, Weekly, or Monthly.
Watch the video below to understand how to set the scheduler,
🟢 Daily
- Select Daily for ther Task Run Frequency
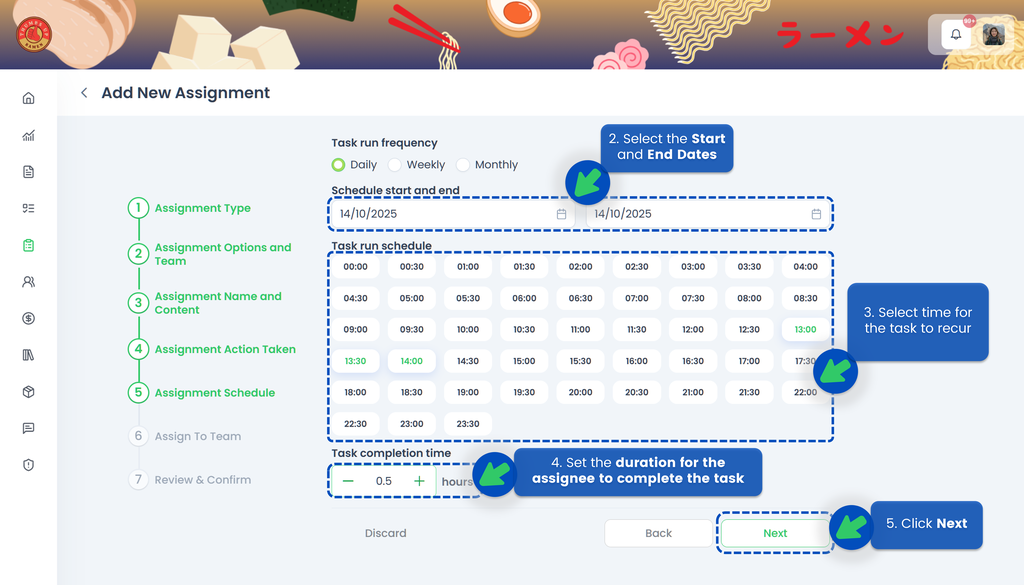
- Select the Start Date and the End Date of the assignment so the system knows when the task should become active and when it should end
- Select time for the task to recur
- Set the duration for the assignee to complete the task. If the assignee misses the deadline, the task will be automatically closed, and the system will indicate that the task was not completed on time
- Click Next
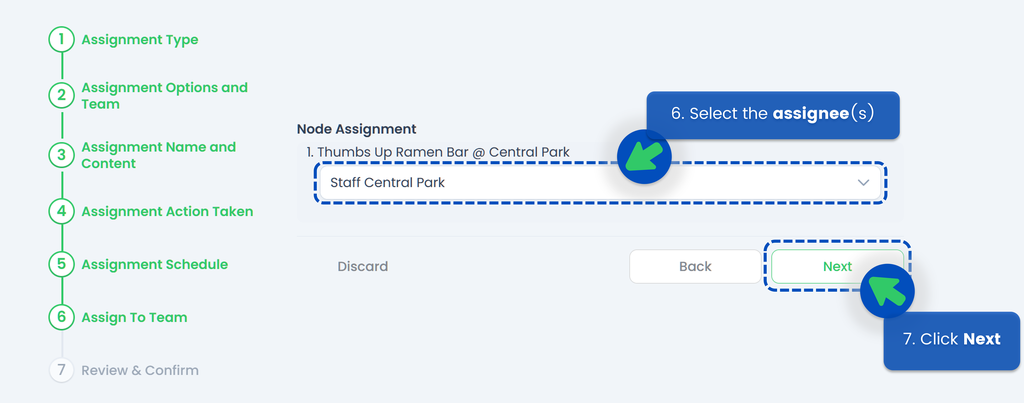
- Select the assignee(s)
- Click Next
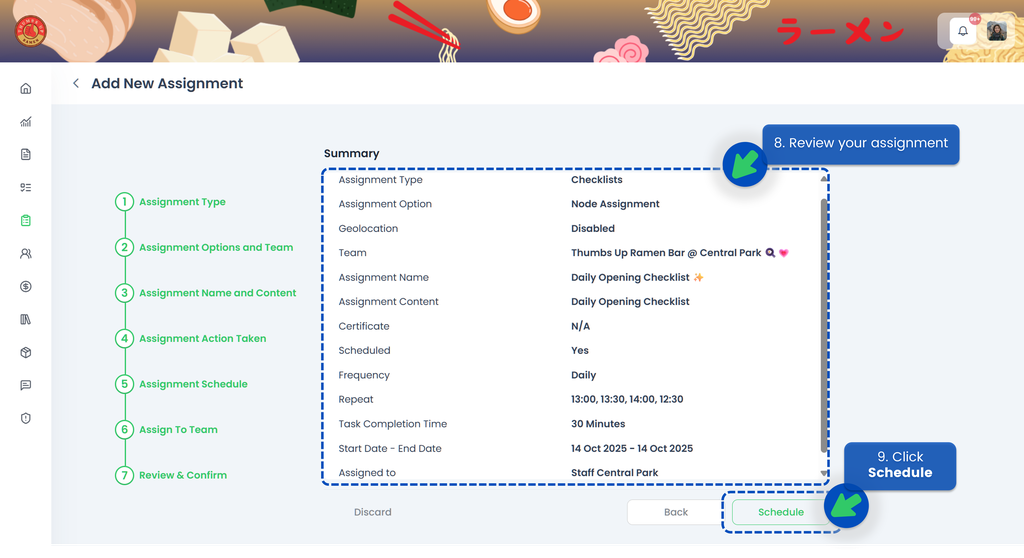
- Review your assignment. Make sure you’ve selected the correct start and end dates, timings, and assignee
- Click Schedule
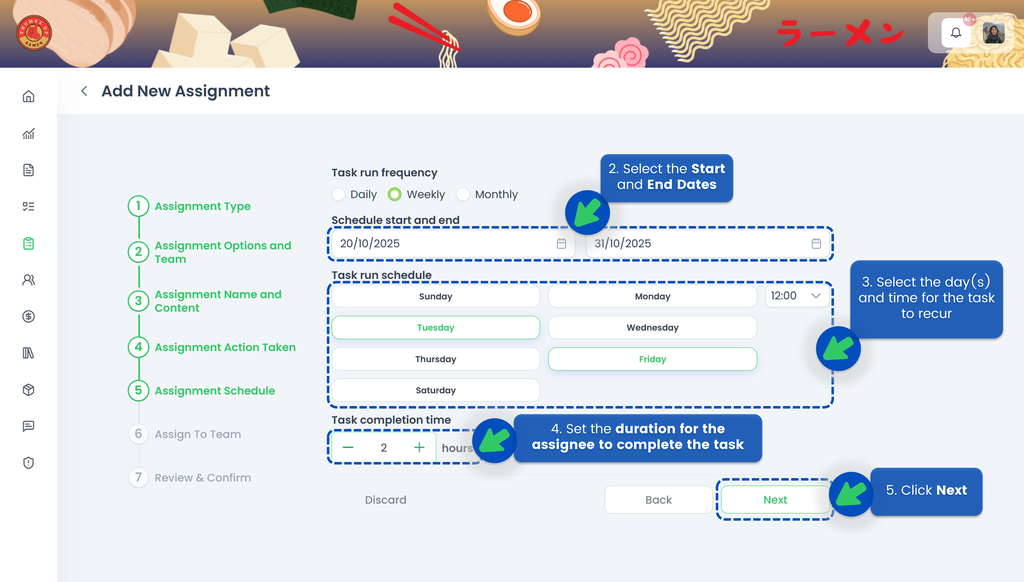
🟢 Weekly
- Select Weekly for ther Task Run Frequency
- Select the Start Date and the End Date of the assignment so the system knows when the task should become active and when it should end
- Select the day(s) and time for the task to recur
- Set the duration for the assignee to complete the task. If the assignee misses the deadline, the task will be automatically closed, and the system will indicate that the task was not completed on time
- Click Next
- Select the assignee(s)
- Click Next
- Review your assignment. Make sure you’ve selected the correct start and end dates, timings, and assignee
- Click Schedule
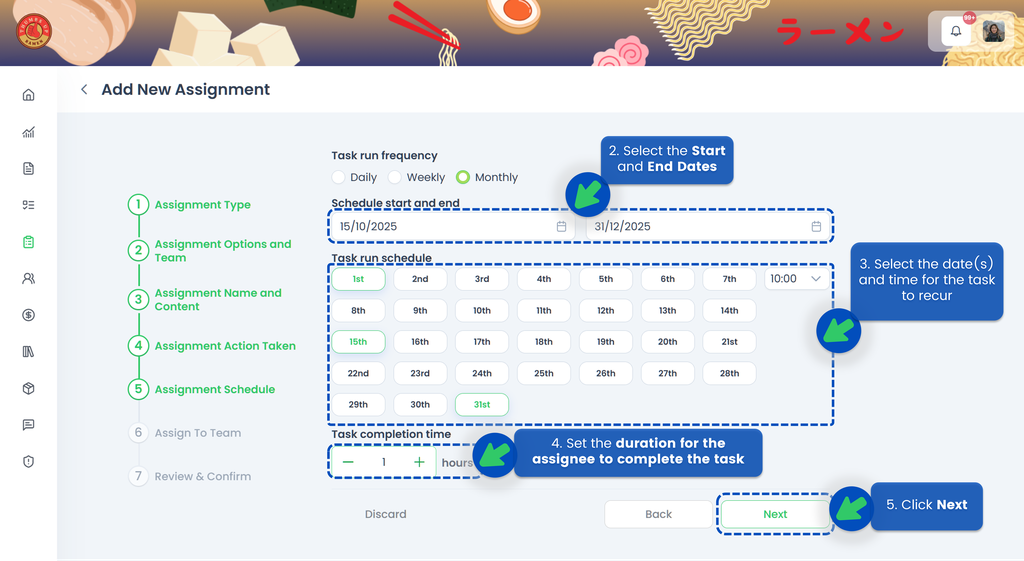
🟢 Monthly
- Select Monthly for ther Task Run Frequency
- Select the Start Date and the End Date of the assignment so the system knows when the task should become active and when it should end
- Select the date(s) and time for the task to recur
- Set the duration for the assignee to complete the task. If the assignee misses the deadline, the task will be automatically closed, and the system will indicate that the task was not completed on time
- Click Next
- Select the assignee(s)
- Click Next
- Review your assignment. Make sure you’ve selected the correct start and end dates, timings, and assignee
- Click Schedule
💡 If a month does not have 31 days, the task will be created on the last day of that month. For example, if a task is scheduled to recur on the 31st of each month, the task for February will be created on the 28th.
Delegate an Audit
- In step 8, if you choose the Delegate action, you will be able to send the Audit at that time to someone who can appoint the appropriate person (in case you don't know the auditor or the person responsible for it, you can delegate to the Manager of the store for example).
💡 You can only delegate one user for each assignment!
IMPORTANT‼️ The Delegatee's role must be either a Site Admin or a Site User (with TreeAMS Assignment Manager as the sub-role). Remember! A Portal User cannot assign tasks as they are only allowed to do tasks.
- Click Delegate.
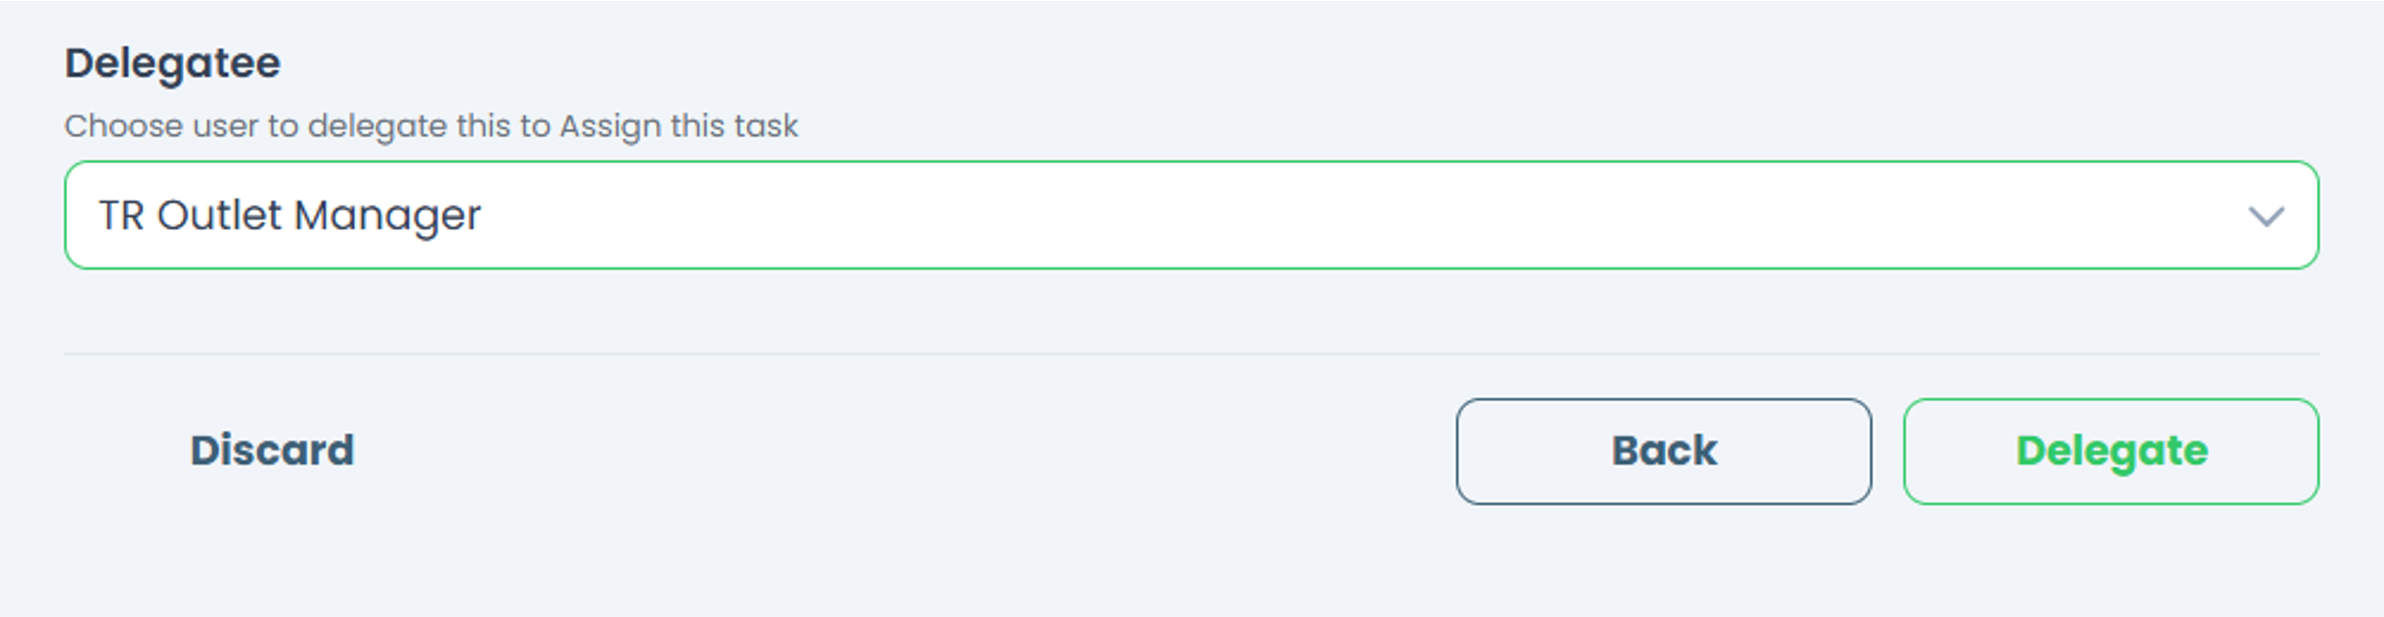
- Your audit has been successfully delegated!
Assigning Corrective Action
TreeAMS Audit system allows auditors to assign Corrective Actions within audits to notify the audited party of areas of improvement or non-compliance. Follow these steps to assign corrective actions.
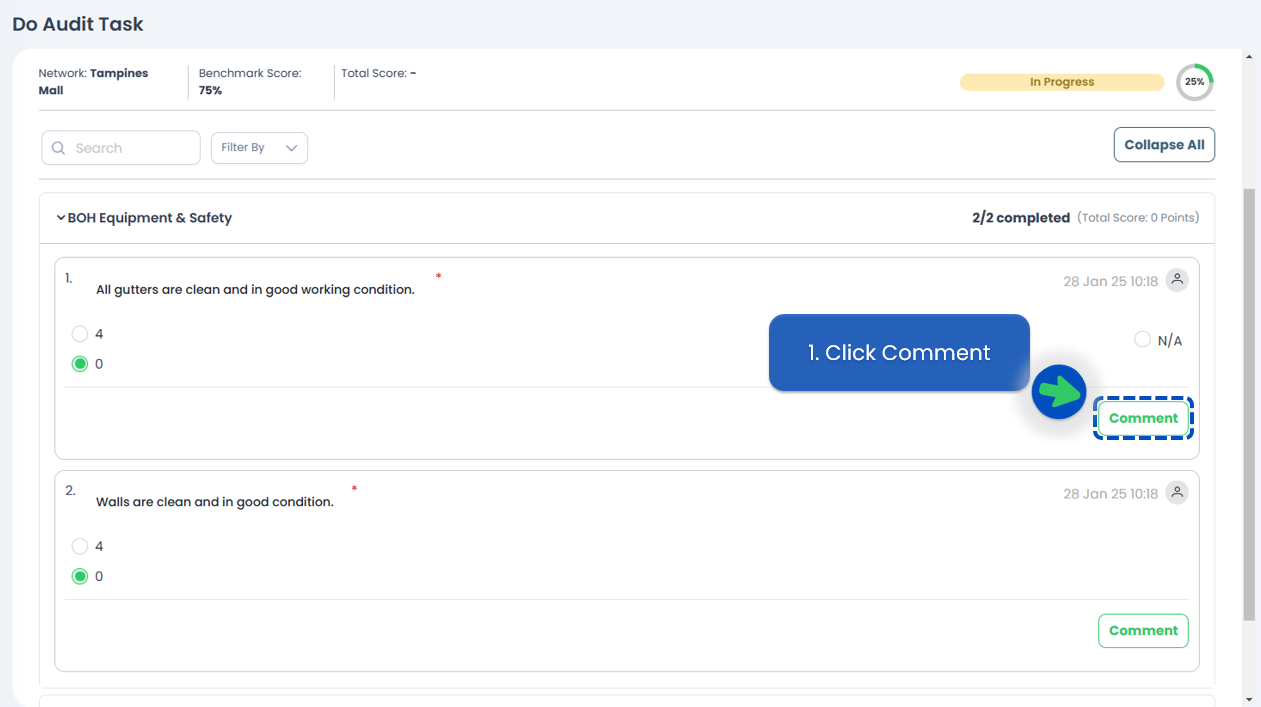
- When conducting an audit, click Comment on the audit question
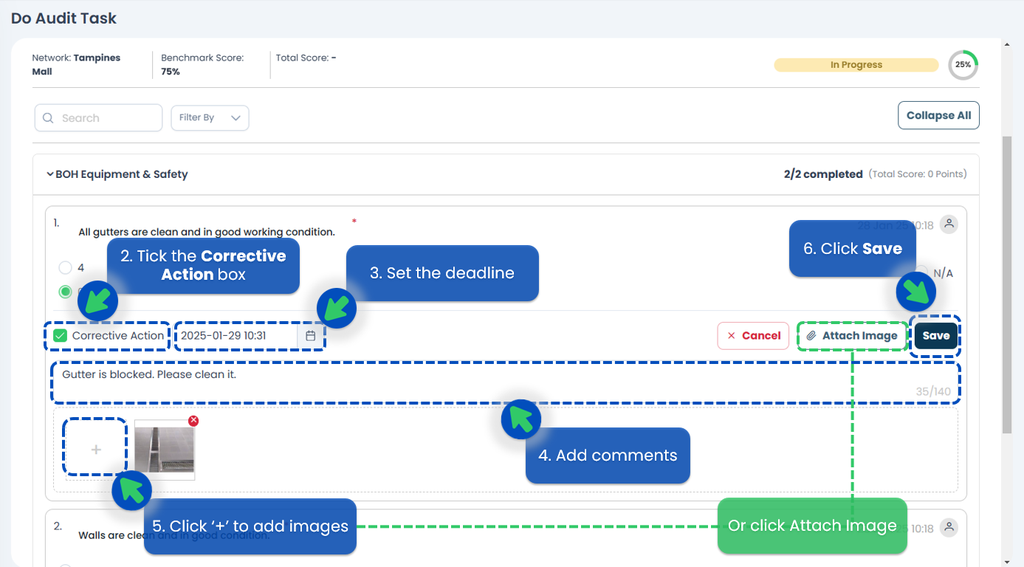
- Tick the Corrective Action box
- Set the deadline to resolve the corrective action needed
- Add comments to explain the corrective action needed
- Add images to the comment as proof
- Click Save
- After all audit questions have been answered, select an Acknowledger. An Acknowledger is someone who will reply to the corrective actions.
- Click Submit. The task will then be sent to the Acknowledger's TreeAMS account.

Replying to Corrective Action
When receiving audit with Corrective Action(s), you need to reply to the corrective action(s) before the audit can be completed. Follow the steps below for detailed instruction.
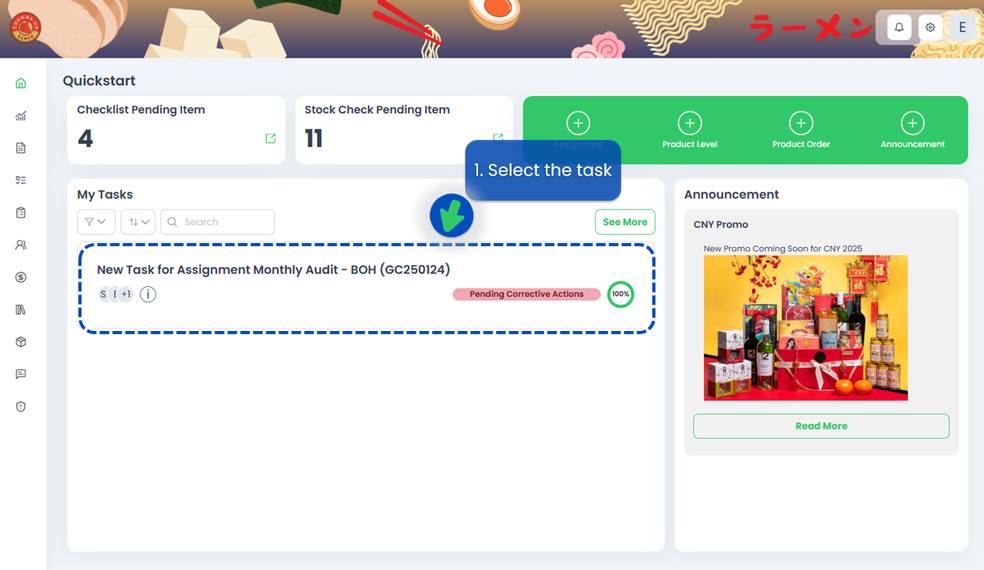
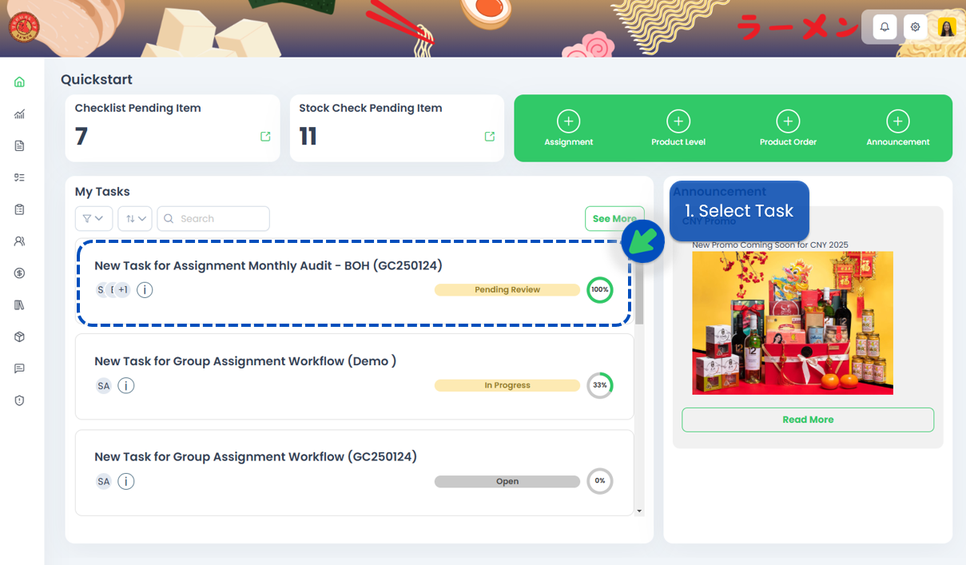
- On your dashboard, select to open the audit task that is 'Pending Corrective Action'
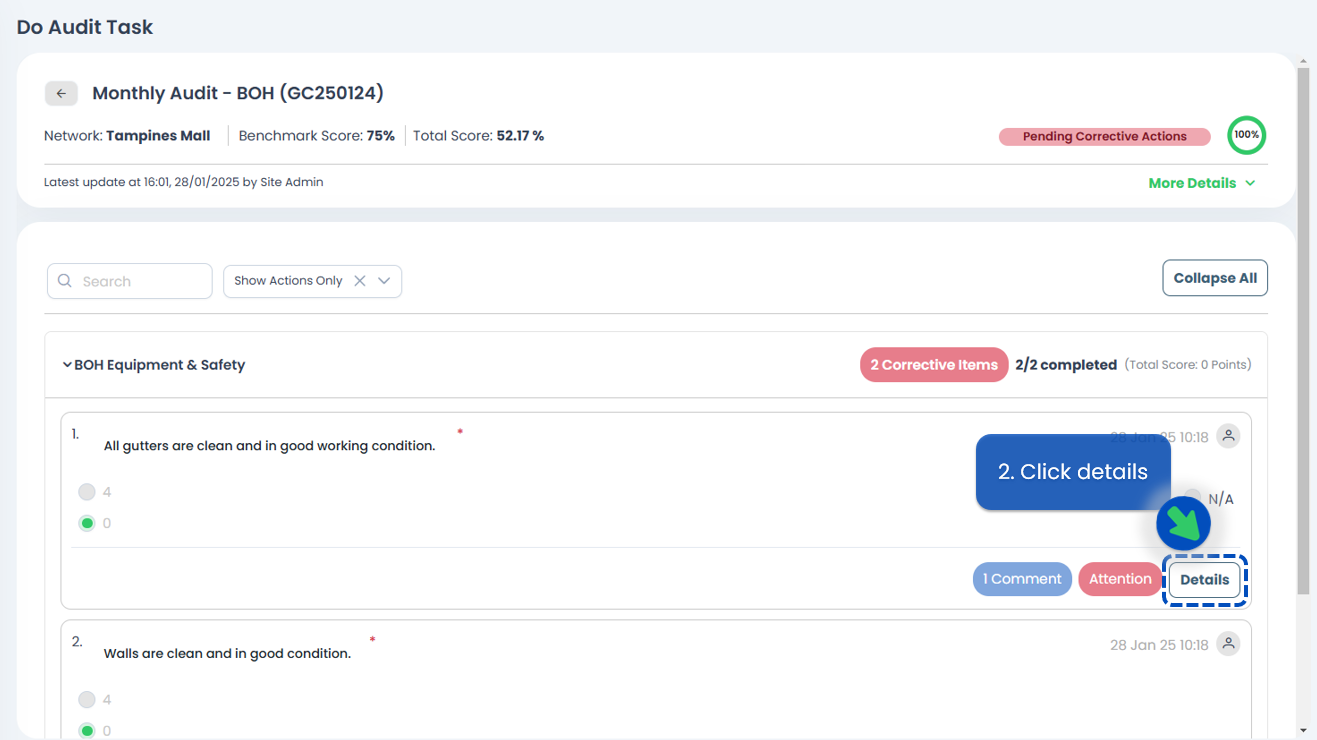
- Reply to each of the corrective actions by clicking on Details
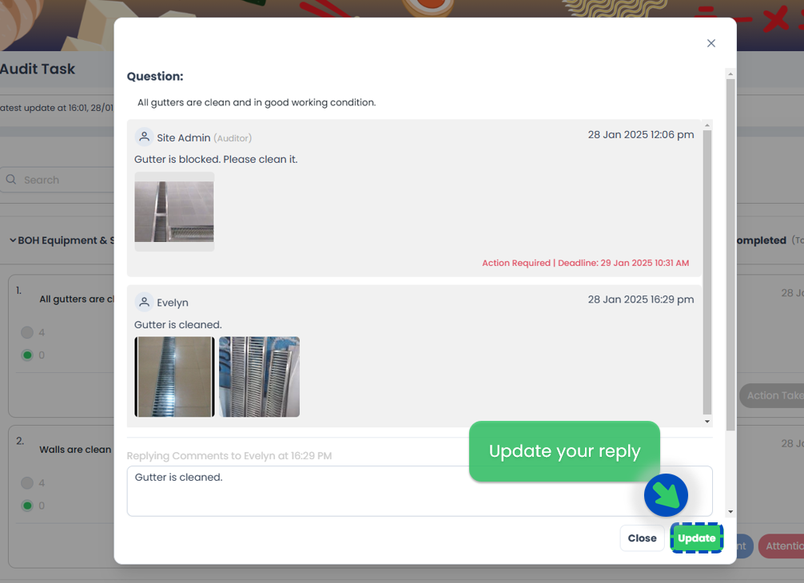
- Type in your reply regarding the corrective action in the comment box
- Add images to your reply
- Click Save
- You can still update your reply by changing your answer and clicking Update
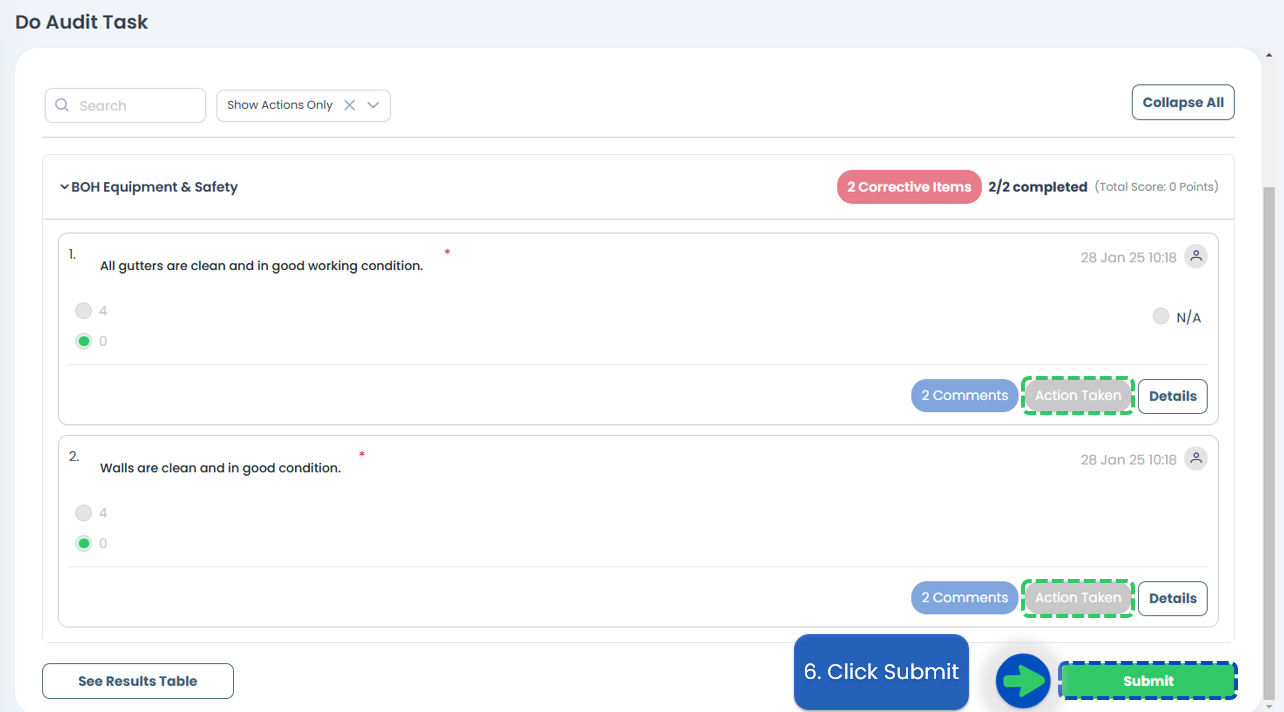
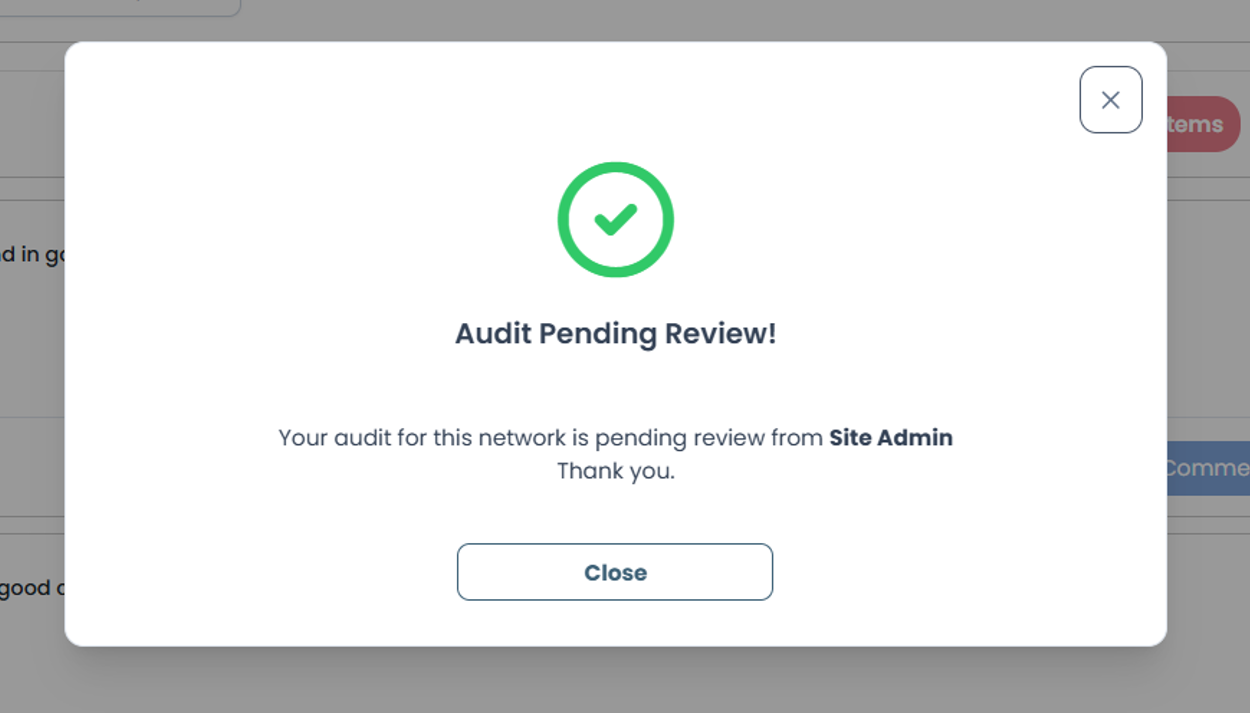
- After replying to all corrective actions and reviewing the audit result, click Submit. The audit will be reviewed by the auditor.

Submitting Audit
All corrective actions need to be replied to, reviewed, and accepted by the auditor to complete. Follow these steps to submit an audit with corrective actions.
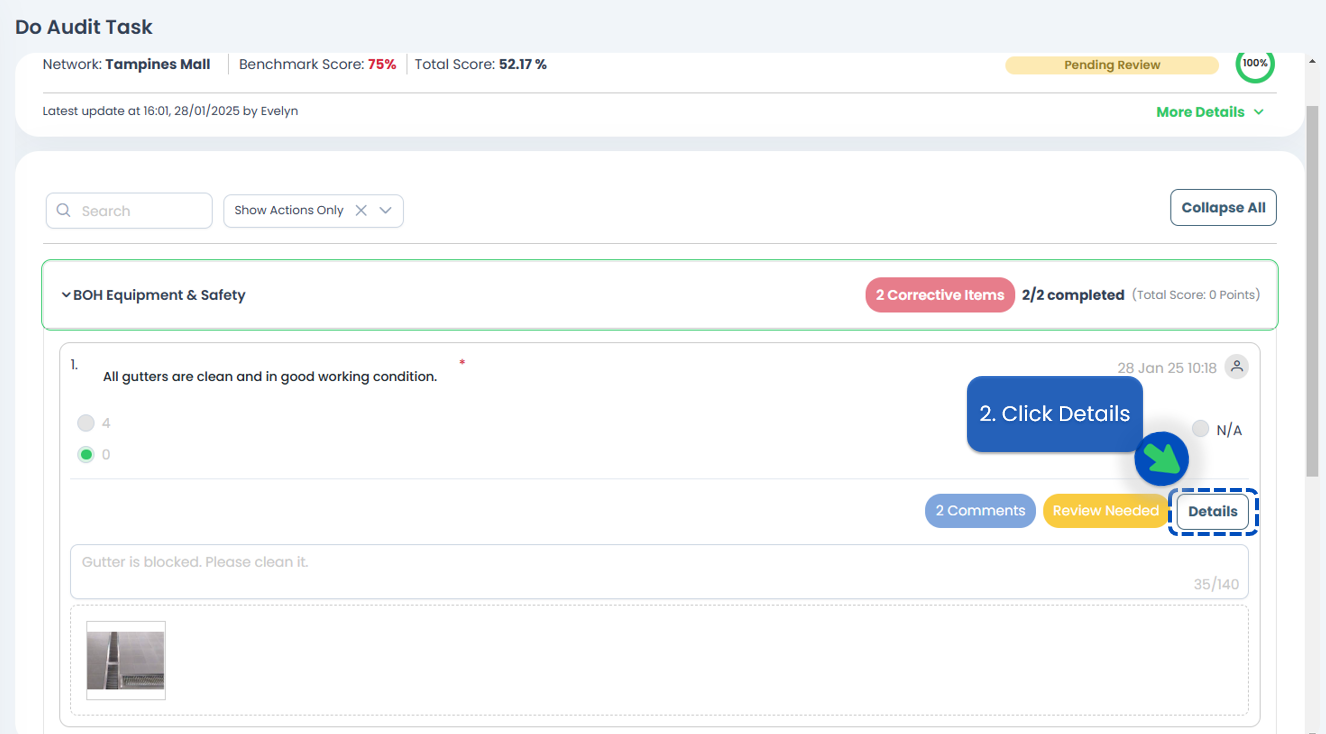
- On your dashboard, select to open the audit task that is 'Pending Review'
- Check the reply of each of the corrective actions by clicking on Details
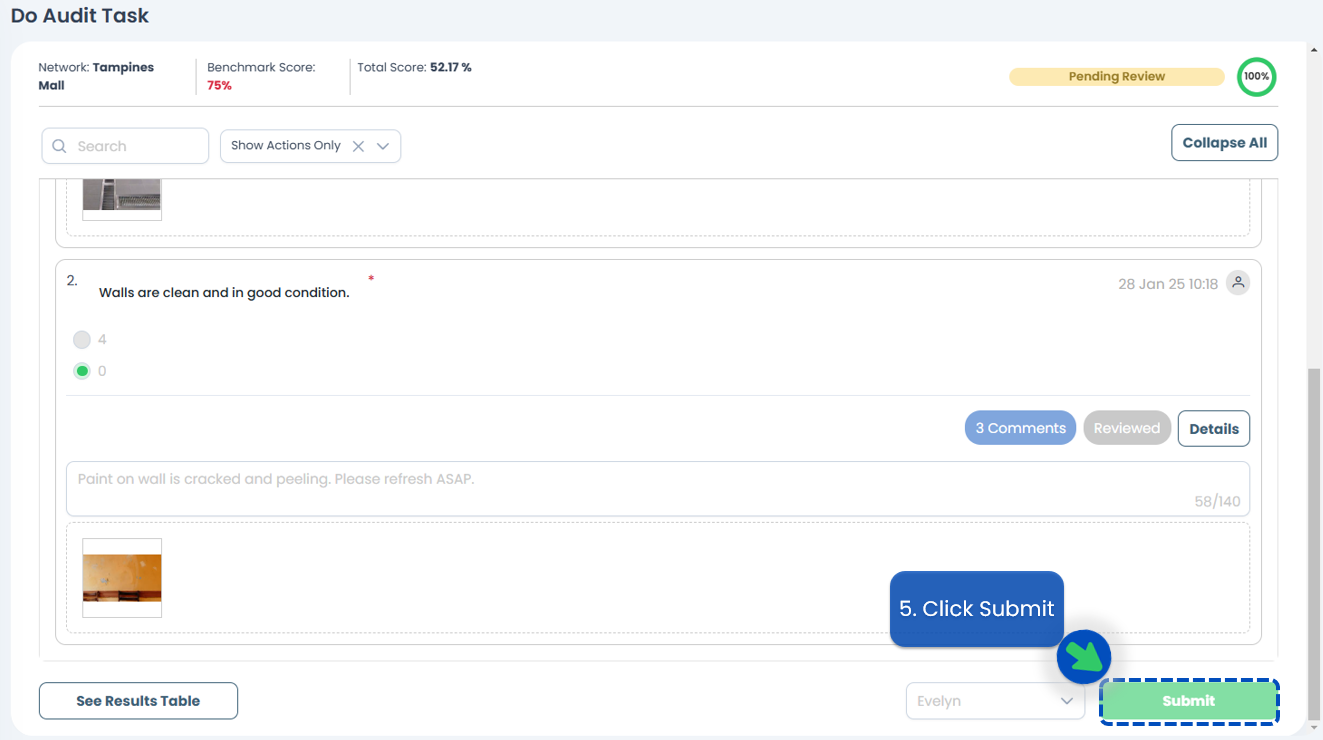
- Type in your reply regarding the action taken in the comment box
- If you are not satisfied with the reply, you can choose to go for another round of Corrective Action by ticking the Action Required box and set the deadline
- Click Save
- After reviewing all corrective actions, click Submit. The audit will either be sent back to the Acknowledger or completed and will generate audit report.

If you need assistance, please email us at connect@treeams.com . We are happy to help! 👋😊